The SVG Tracer Now Matches Your Image Down to the Pixel
A new Identical level that matches the original on over 99% of pixels, a Remove shading switch that turns shaded art into clean flat colours, and a Detailed mode for photos.
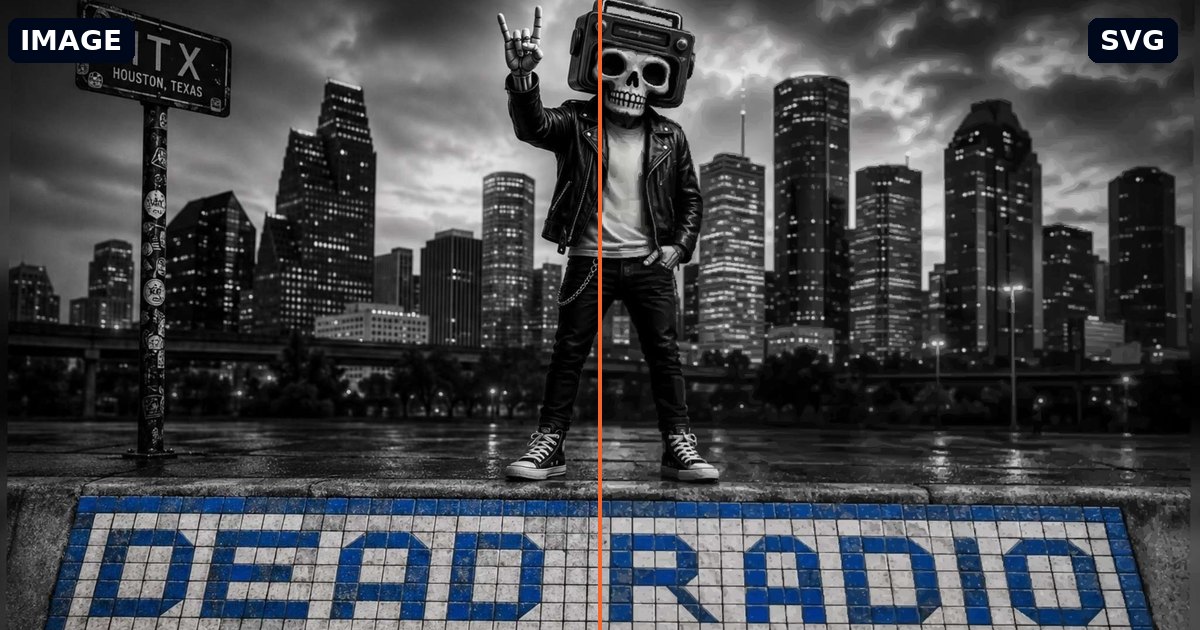
The SVG Tracer turns a PNG, JPG or photo into a vector SVG you can scale, cut, engrave or extrude into a 3D print. Most tracers give you a rough lookalike: the shading turns into blotches, edges wander, and fine detail like teeth or lettering melts away. This update is about closing that gap completely.
It is free, there is no sign-up or watermark, and the whole trace runs in your browser, so your image is never uploaded.
Identical: an SVG that matches your image
In Detailed mode, the Level of detail slider now goes up to two new levels, Pixel-exact and Identical.
At these levels the tracer works on your image's own pixel grid. It splits the picture into areas along its real edges, fills each one with a flat colour or a gradient fitted to the exact pixels inside it, then draws the result and checks it against the original. Any area that is still off gets split again and re-fitted, pass after pass, until it matches.
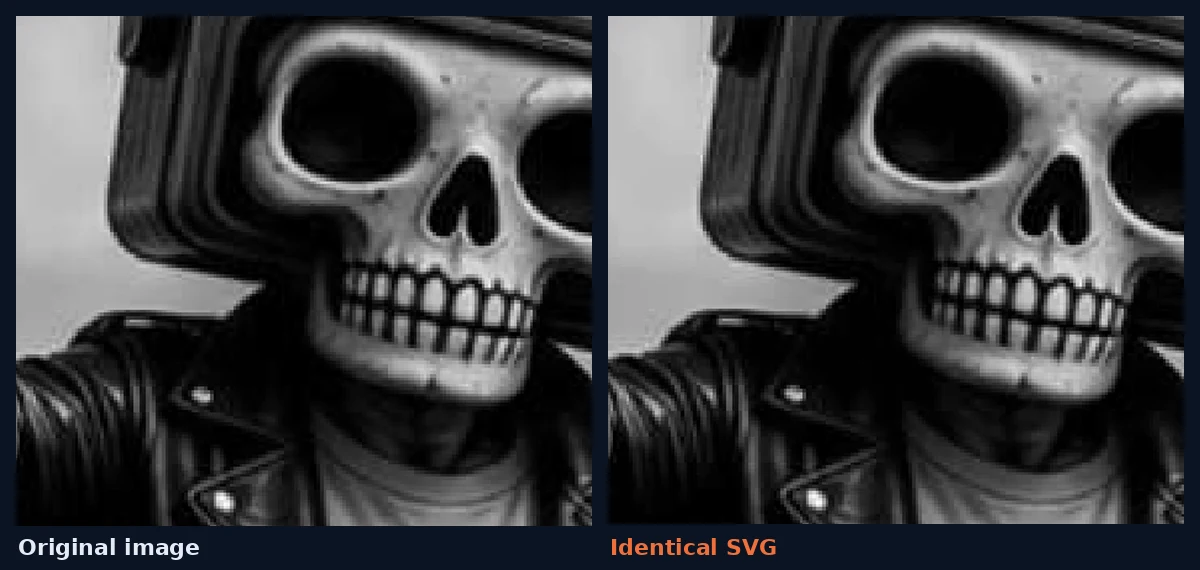
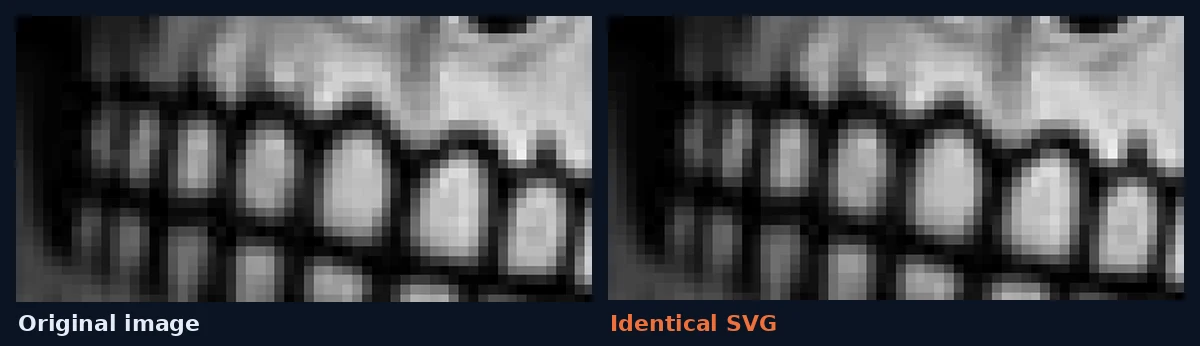
Zoom right in and it still holds. Below, every block is one pixel of the original, eight times its size:
The proof: a difference map
We didn't want you to take our word for it, so we measured it. The pictures below show where each SVG differs from the original image. Black means the pixel is identical; blue is 2 to 8 shades off, yellow 8 to 24, and red more than 24.
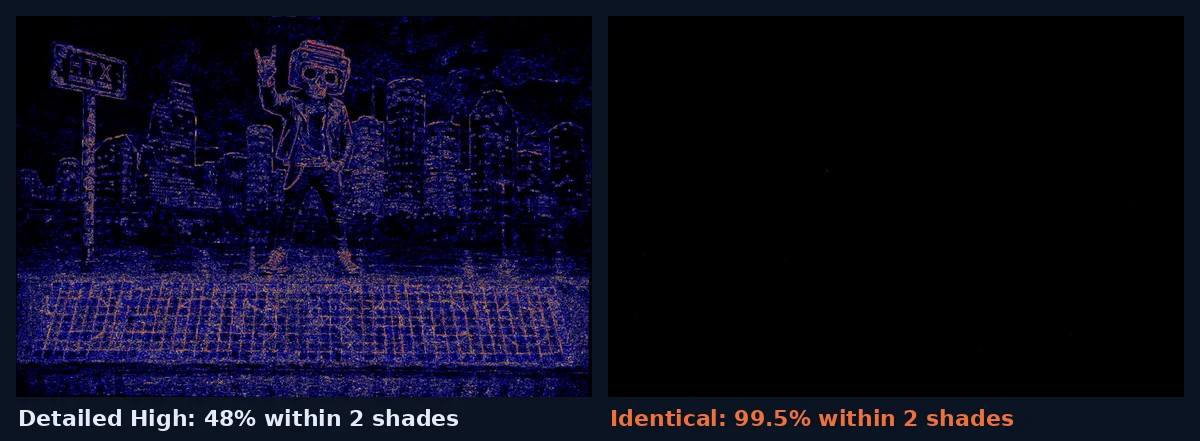
On our Dead Radio test image:
- Detailed, High: 48% of pixels within 2 shades of the original.
- Pixel-exact: 82% within 2 shades, and every pixel within 24.
- Identical: 99.5% within 2 shades, practically every pixel within 8, and an average error of less than half a shade.
On a lion, a parrot and a tiger, Identical got over 99% of pixels within 2 shades too.
Identical files are big, because they hold every detail of the picture. A cartoon comes out at 2 to 4 MB, while a large detailed photo can reach tens of MB and take up to a minute to trace. Use it when the match matters more than the file size; for the web, the lower Detailed levels give a much smaller file that still looks like the photo.
Remove shading for flat colours
The opposite problem is just as common: you want a clean, flat logo or cut file, and the tracer gives you five shades in an area that should be one colour.
In Colour mode, switch on Remove shading (flat colours). The tracer finds the real outlines in the picture, merges the soft shading inside each area, and gives every area one solid colour. Highlights, shadows and gradients disappear; the shapes stay exactly where they were.
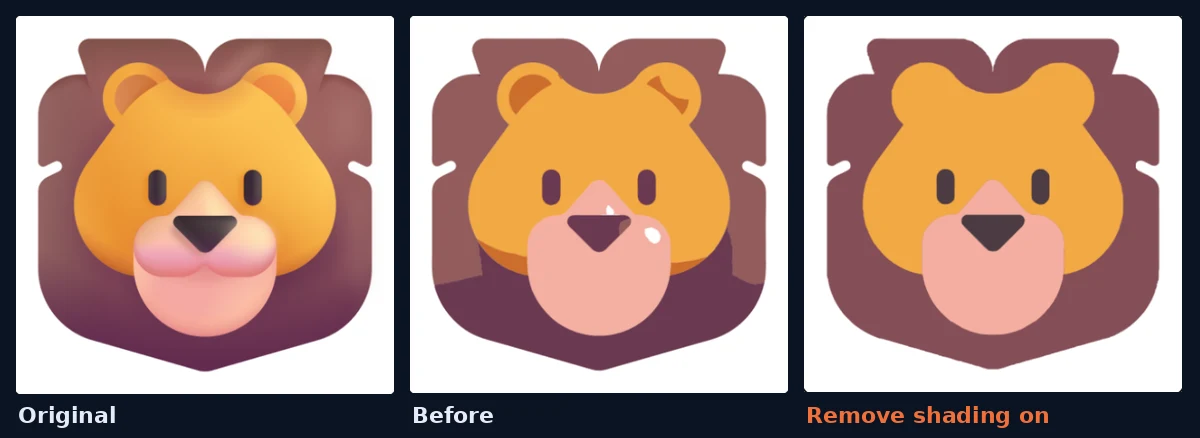
Shading removal sets how hard it flattens. Auto picks for you; Strong is best for cartoons and logos, and Light keeps more of a photo's tones.
Detailed mode for photos
Between the two sits Detailed mode at its normal levels. It splits a photo into thousands of shapes that follow its edges and fills the shaded ones with real SVG gradients instead of stripes of flat colour, so the result looks like the photo but scales like a vector. Low, Medium and High trade detail against file size.
Which setting to use
- Logos, decals, stickers, cut files: Colour mode with Remove shading on.
- Stencils and laser engraving: Black & white.
- Photos and shaded artwork for the web: Detailed, Medium or High.
- When the SVG has to match the original: Detailed, Pixel-exact or Identical.
Using it for 3D printing
Bambu Studio, OrcaSlicer and PrusaSlicer can all import an SVG and extrude it into a solid. For a multicolour print, use Colour mode with Remove shading, choose Separate pieces, and download one SVG per colour under Layers: each one becomes a part you can give its own filament.
Ready to try it? Open the SVG Tracer.
Spotted something wrong, or have a fix that works better? Tell us at hotendhq@gmail.com — corrections get credited.