Layer Height, Line Width and Nozzle Size: Picking the Right Combination
Three numbers decide how strong, fast and detailed your prints are. Here are the rules of thumb, why they work, and how to design parts around them.
Every print is built from the same thing: lines of plastic, stacked in layers. Three settings decide the size of those lines, and together they decide how strong, how fast and how detailed a print can be.
- Nozzle size is the hole the plastic comes out of.
- Line width is how wide each extruded line is.
- Layer height is how thick each layer is.
Rule 1: Layer height stays between 25 % and 75 % of the nozzle
The nozzle presses each line flat as it lays it down. If the layer is too thick, the nozzle cannot press it into the layer below and the layers bond poorly. If it is too thin, the plastic has nowhere to go and the print slows down for no gain.
For a 0.4 mm nozzle that means layers from about 0.1 to 0.3 mm. A 0.2 mm layer is the usual default, 0.12–0.16 mm is for fine detail, and 0.28 mm is a common fast draft setting.
Rule 2: Line width runs from 100 % to about 150 % of the nozzle
Lines can be wider than the nozzle, because the flat face around the hole spreads the plastic out. Most slicers default to a little over 100 %, around 0.42–0.45 mm for a 0.4 mm nozzle.
Wider lines press harder into their neighbours and bond better, so a slightly wider line can make a part stronger. Narrower lines, close to the nozzle size, give sharper detail.
Rule 3: Design walls as whole numbers of lines
Your slicer builds walls from whole lines. A wall that is not a whole number of lines wide gets a thin, wiggly line of "gap fill" squeezed into the middle, which is slow and weak.
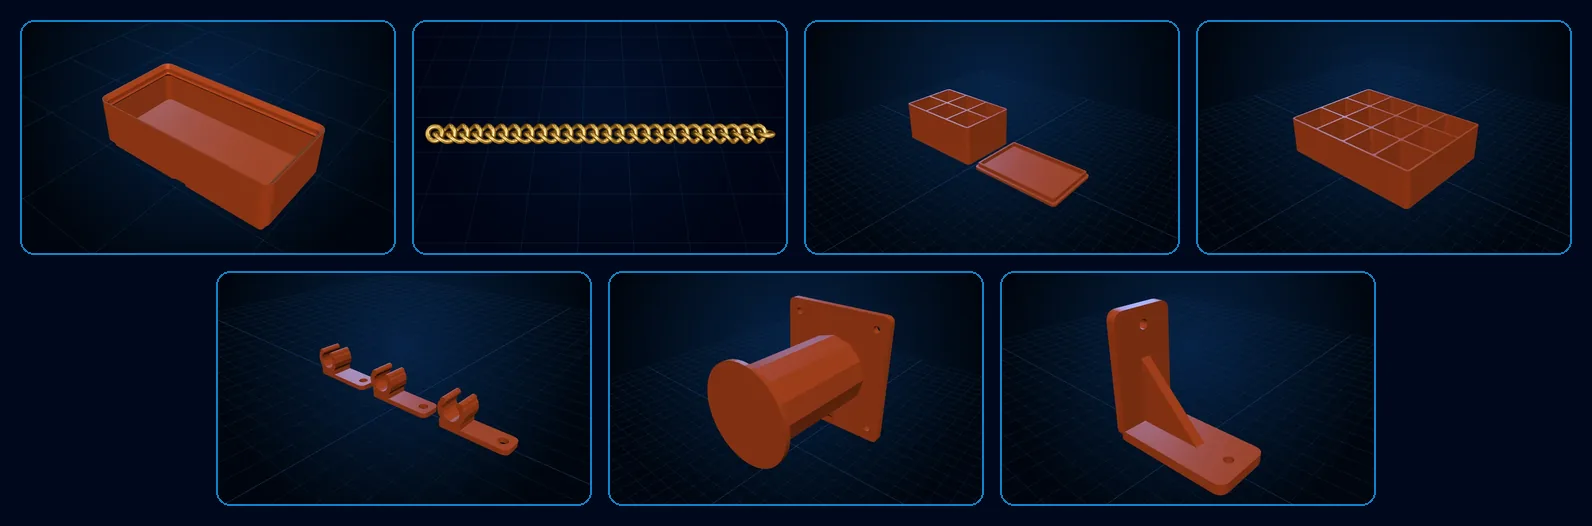
With a 0.4 mm nozzle, wall thicknesses of 0.8, 1.2 and 1.6 mm print cleanly. A 1.0 mm wall does not. Our Gridfinity generator shows how many lines each wall and divider will print as for the nozzle you choose, and warns you when a thickness falls between two.
Rule 4: Heights should be whole numbers of layers
The same idea applies vertically. A part that is 10 mm tall prints as exactly 50 layers at 0.2 mm. A 10.1 mm part forces the slicer to round, and a lid or a fit that depends on that last 0.1 mm will not come out as designed. Gridfinity's 7 mm height unit works out to exactly 35 layers at 0.2 mm, which is one reason it prints so reliably.
Speed comes from all three
How fast a printer can go is limited by how fast the hot end can melt plastic, which is measured as volume per second:
flow (mm³/s) = layer height × line width × speed
Double the layer height and you move twice as much plastic at the same speed. That is why a bigger nozzle, which allows thicker layers and wider lines, can halve print time on large parts even though the printer moves no faster.
Which nozzle for which job
- 0.2 mm: miniatures, small text and fine jewellery. On our chain generator, the 0.2 mm setting allows thinner wire and smaller gaps for delicate chains. Expect long print times.
- 0.4 mm: the all-rounder, and what almost every printer ships with.
- 0.6 mm: strong functional parts such as brackets, holders and tools. Wider lines bond better and prints finish much faster, with only slightly softer detail.
- 0.8 mm: big, simple parts and vases, where speed matters more than detail.
Settings to start from
- Detailed display parts: 0.4 mm nozzle, 0.12 mm layers, 0.42 mm lines.
- Everyday parts: 0.4 mm nozzle, 0.2 mm layers, 0.45 mm lines.
- Strong brackets and holders: 0.6 mm nozzle, 0.3 mm layers, 0.65 mm lines, four or more walls.
- Fast drafts: 0.4 mm nozzle, 0.28 mm layers, 0.5 mm lines.
Small details need at least two lines to print well. Text strokes, thin ribs and wire on a chain thinner than two line widths will come out patchy or not at all, which is why the chain generator warns you when the wire is too thin for the nozzle you picked.
Spotted something wrong, or have a fix that works better? Tell us at cobornassets@gmail.com — corrections get credited.