Stencil generator
Type a word, pick a shape or upload an image, and get a stencil plate that holds together: every island, like the middle of an O or A, is tied in with bridges.
Loading…
A stencil in four steps
- Choose what to cut. Text, a shape or your own image, or a whole set of letter tiles.
- Check the bridges. Islands get bridges automatically. Choose their width and whether they run up and down, across, or both.
- Set up the plate. Margin, thickness, rounded corners, a stiffening rim, a hanging hole and a pull tab.
- Print and paint. Print it flat and use it with spray paint, a brush, chalk or etching cream.
Settings that work
Thin but stiff
Print at 0.8–1.2 mm with the rim on. Thin plates hug curved surfaces and give sharper edges.
Spray paint
PETG shrugs off solvents better than PLA. Hold the can 20–30 cm away and use light coats.
Bridges
Wider bridges survive more use. Vertical bridges look most natural on text; use both directions for big rings.
Stencils FAQ
What are bridges and why does a stencil need them?
Letters like O, A, B, D and R have a middle that would fall out when cut. Bridges are thin strips that keep those islands attached to the plate.
Can I use my own logo?
Yes. Upload an image; dark areas become the cut-out and islands get bridges.
Which font is best?
Bold fonts and the stencil font cut cleanest. Script fonts work at larger sizes.
How do I stop paint bleeding under the stencil?
Keep the plate thin, press it flat, and use light coats of paint rather than one heavy one.
Make something else
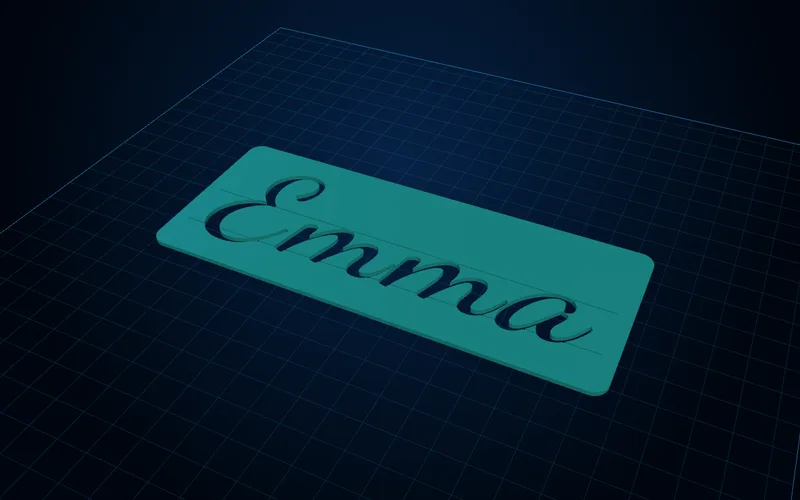
Lettering & calligraphy generator
Name tracing templates, mirrored letter stamps and calligraphy guide rulers with your slant and x-height.
Open generator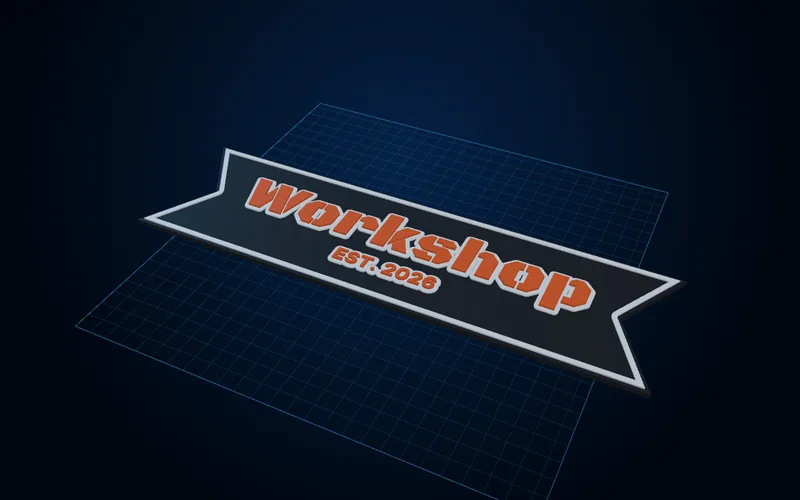
Layered sign generator
Multicolour signs with raised or inlaid text, borders and mounting, with the colour-change heights worked out.
Open generator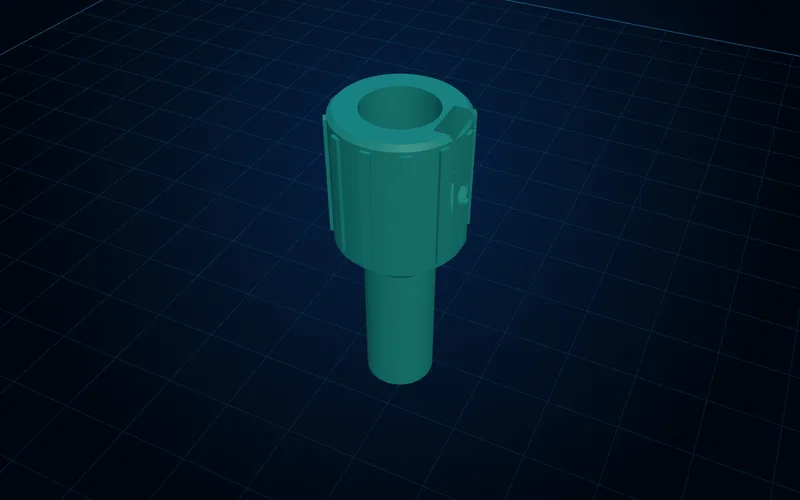
Pen grip & cutter adapter generator
Adapters that fit any pen into Cricut, Silhouette and Brother cutters, plus comfort grips for pens and craft knives.
Open generator