Pendant & Medallion Studio: A Complete Guide
Turn a photo, logo or drawing into a pendant, coin, keychain, badge or lithophane that prints without supports. Here is how every part of the studio works, and the settings that give the cleanest prints.
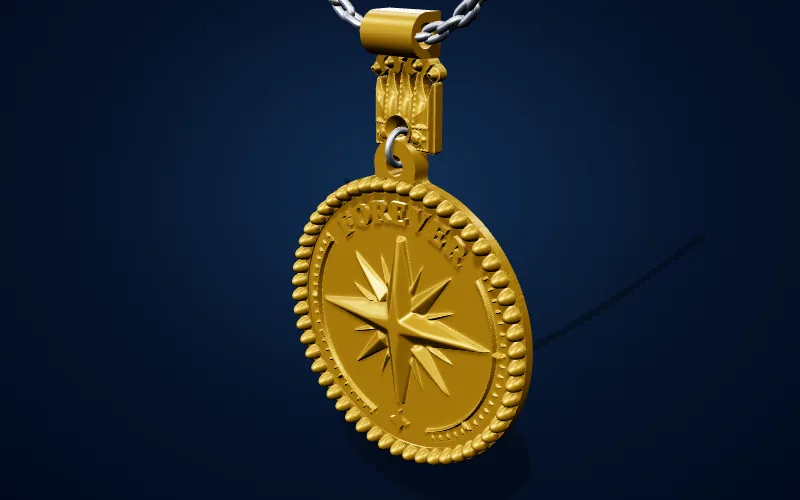
Pendant & Medallion Studio turns any image into a small 3D relief you can print. Load a photo of your dog, a club logo or a hand drawing, pick a shape and a style, and a minute later you have a pendant, a challenge coin, a keychain, a badge or a lithophane that is ready for your slicer.
It is free, it runs entirely in your browser, and your image never leaves your device. This guide walks through every part of it, in the order you will use them.
What you can make
- Pendants and charms for a necklace or bracelet, in any of twelve outlines, with or without a loop.
- Coins and medallions with milled, beaded or rope-twist rims and lettering around the edge.
- Keychains and pet tags with a punched hole, a name on the front and a phone number engraved on the back.
- Badges and crests: sheriff stars with ball tips, shields, hexagon tech badges.
- Lithophanes: thin panels that show the photo when a light shines through them.
- Two-colour and multicolour pieces that print on a single-nozzle printer with filament swaps at set layers.
If you would rather start from something finished, the Presets button opens a gallery of 31 designs, from a classic medallion and a military dog tag to a guitar pick, a topographic map and a line-art sketch. Every setting stays editable after you pick one.
A clean start: just the emblem
When you open the studio you get the emblem on its own: no loop, no connector bail and no chain in the preview. That keeps the first thing you see simple, and it is the right starting point for coins, badges, magnets and anything else that does not hang.
When you want to wear it, open Hanger / Bail and choose one. You can switch on the chain in the preview whenever you like to see how it hangs.
Step 1: Load your image
Drag an image onto the page or use Open. PNG, JPEG and WebP all work.
- Logos and drawings work best as a PNG with a transparent background. The studio uses the transparency to cut the subject out cleanly.
- Photos work too. Under Background removal you can remove a light or dark background, use a smart colour-based cut-out, or use the AI portrait cut-out for people.
- Drag the design preview to move the image, scroll to zoom and Shift-scroll to rotate it.
Where the height comes from
The Height from setting decides how the flat picture becomes a 3D surface:
- Brightness: light areas stand up and dark areas sit low. This is the classic approach and is ideal for logos, line art and high-contrast graphics.
- AI Depth: a neural network estimates the real depth of the scene, so a nose sits in front of the cheeks and an ear sits behind them. It is excellent for faces, pets and objects. The model loads once (about 27 MB) and takes a few seconds per image, all on your own device.
- Hybrid: depth for the big forms and brightness for fine detail such as fur and hair. Use the mix slider to balance them.
Then tidy the surface. Clean surface is the most important control here: it irons out JPEG noise, grain and pixel steps while keeping edges crisp. Contrast and Midtones shape the relief, Invert swaps high and low for dark-on-light artwork, and Symmetry can mirror the design or repeat it radially for mandala-style pieces.
Step 2: Pick a shape
Twelve outlines are built in: circle, rounded rectangle, polygon, heart, shield, star, scalloped, gear, teardrop, crescent, bone, and Image outline, which traces the subject of your picture so the pendant is the shape of your dog, your logo or your initials.
Set the Width in millimetres and the Height ratio for tall ovals or wide dog tags. Stars can have ball tips, polygons and shields can have rounded corners, and gears and scallops let you set the count and depth.
The Background layer option adds a flat plate behind the design that follows its outline at a set margin, like the backing on a keychain. Swap filament where the plate ends and you get a crisp two-colour piece.
Step 3: Choose a relief style
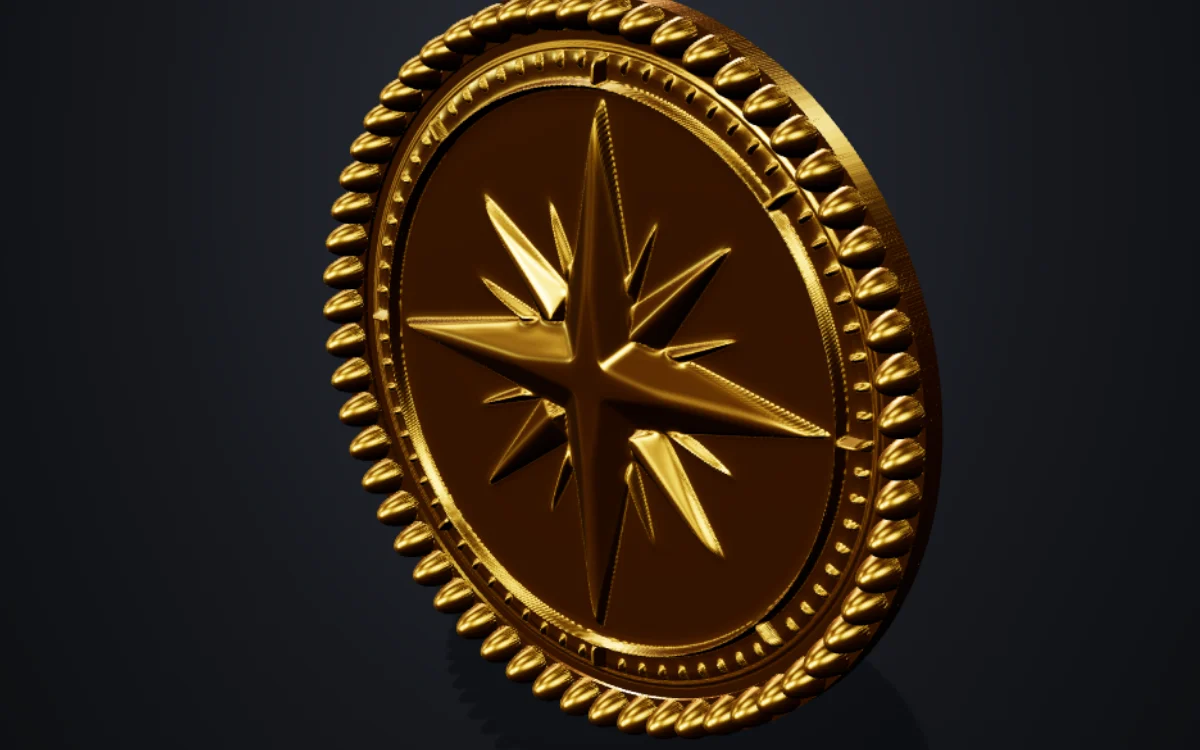
This is where the studio earns its keep. Ten styles turn the same image into very different objects:
- Raised: bright areas stand up from the base. The default, and right for most logos.
- Engraved: the design is carved into a flat plate.
- Coin: a medal-style bas-relief. Big forms are flattened, fine detail is kept and edges roll down to the field, the way a struck coin looks.
- Cameo: the subject puffs up like a cushion. Lovely for portraits and brooches.
- Lithophane: a thin panel whose thickness follows the photo, so it shows the picture when backlit.
- Stencil: a crisp two-level cut-out.
- Halftone, Lines, Contours and Line art: the image becomes a pattern of dots, engraved lines, topographic contours or pen strokes. These are built from shapes sized for a 0.4 mm nozzle, so every dot and line actually prints, and they look superb with a colour swap.
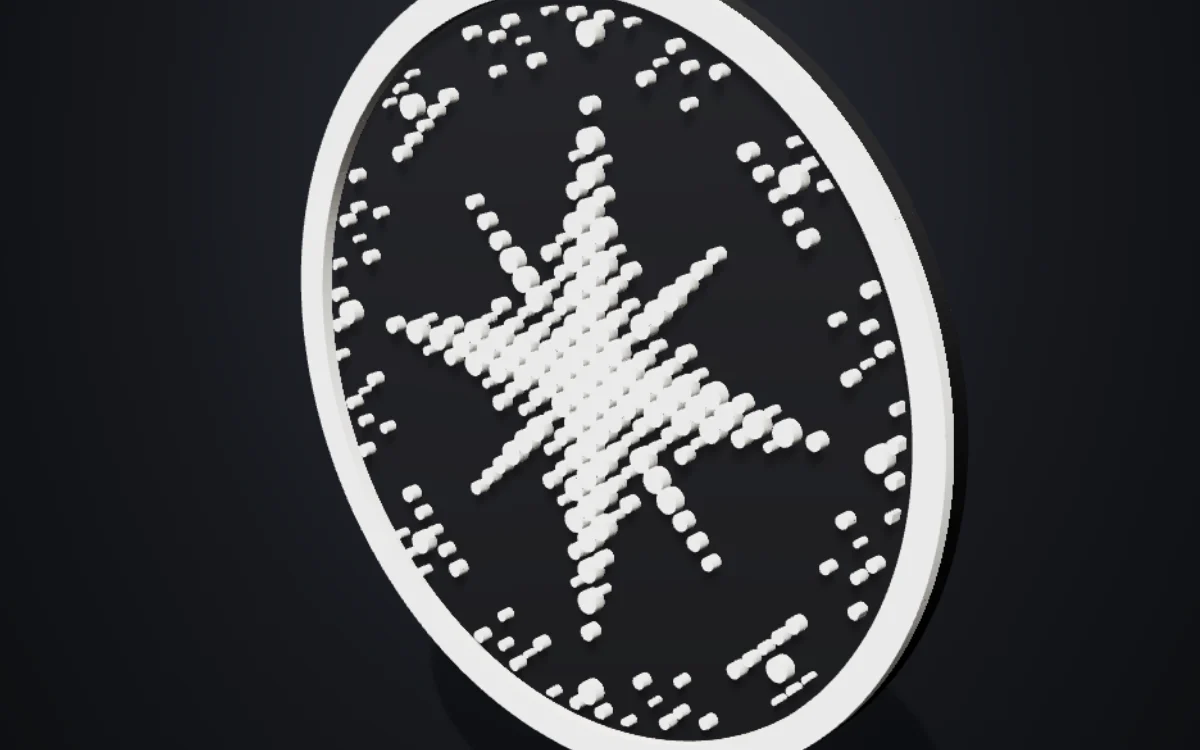
Under the style you set the Base thickness (1.2 mm or more for anything you will wear) and the Relief depth. Dome curves the whole face like a coin or cabochon, and Puffy edge rounds the face down towards the outline for a softer, jewellery-style finish.
Step 4: Border and edges
A rim frames the design and protects it from wear. Choose from flat, rounded, bevelled, beaded, rope twist, double line, stepped or coin-milled, then set its width and height. Keep the rim a little taller than the relief so it takes the knocks instead of the design.
Two small settings make a big difference to the finished print:
- Top edge bevel chamfers the top outer edge so it feels smooth, not sharp.
- Elephant-foot chamfer trims the bottom edge slightly to cancel the squish of the first layer, so the sides come out straight.
Step 5: Text on the front and back
Add top and bottom arc text that follows the outline, and centre text for a name or a date, in thirteen fonts from classic Cinzel to Great Vibes calligraphy and Black Ops stencil. Text can be raised or engraved. Stroke boost thickens thin letters so a 0.4 mm nozzle can print them, and Clear image behind arc text flattens the relief under the lettering so it stays readable.
On the back, Engraved back text is mirrored for you so it reads correctly when you turn the piece over: a name, a date, or a phone number on a pet tag. The back can also have a round pocket for a magnet, an NFC tag or a photo insert.
Step 6: Add a hanger, if you want one
Nothing hangs until you say so. Under Hanger / Bail there are four ways to wear it:
- Loop: a ring grows out of the edge. It is the strongest option and comes in ten shapes, including oval, heart, ribbon bar for wide cords, a double loop, and a clip hook that slides onto a chain without opening a ring.
- Hole: a hole punched inside the outline with a reinforcing collar. Perfect for keychains and tags.
- Tube: a horizontal tunnel the chain threads straight through, so the pendant always faces forward and needs no jump ring. The tunnel roof is teardrop-shaped, so it prints without supports.
- Cord slot: a wide slot for leather cord or ribbon.
Loops and holes can go at the top, as a pair, or on both sides for a bracelet charm, and can be rotated around the edge (45° puts a keychain hole in the corner).
For a more decorative look, the Connector Bail section adds a separate bail that joins the pendant to the chain: one of twelve built-in designs such as a crown, a fleur-de-lis or a winged heart, or your own image. It prints flat beside the pendant, with no supports, and joins with a jump ring, a loop, a glue pad or a snap-fit peg.
Step 7: Filament and colours
Pick the filament you will print in (matte, silk, PETG, metal-look, translucent or glow-in-the-dark) and a colour, and the preview renders it that way, so you can judge the look before you print.
For multicolour pieces on a single-nozzle printer, switch Colouring to Colour swap layers. Choose up to six colours and the studio splits the relief into height bands, then lists the exact layer numbers where you pause and change filament. Turn on Layer lines in the preview to see how it will look at your layer height.
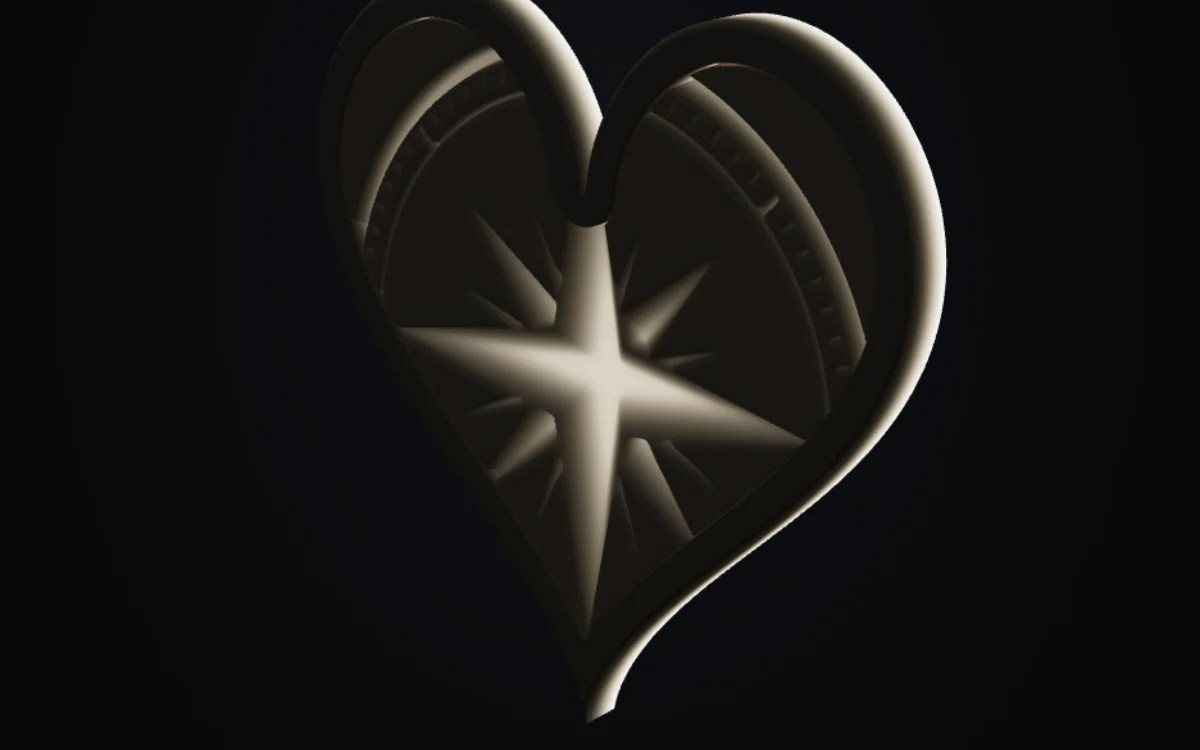
For lithophanes, turn on Backlight in the preview to see the photo as it will look against a window or a lamp.
Check the print report
The panel on the right is a live print report: footprint, thickness, number of layers, filament weight and length. Below it, the Printability checks warn you about anything that is likely to fail, such as a hole too small for a jump ring, a loop too thin to survive, or a hole so close to the edge it will tear, and most warnings come with a one-click fix.
Export
Press Export and choose a format:
- STL: works in every slicer.
- 3MF: smaller files, and a connector bail comes along as a separate object on the same plate.
- OBJ: for editing in Blender or another modelling tool.
- 3MF multi-colour and STL per colour: for AMS, MMU and toolchanger printers, with each colour as its own part.
Save stores the whole project, image included, so you can reopen it later with Open and carry on where you left off.
Print settings that work
Every design is built to print face-up with a flat back, so it needs no supports.
- Layer height: 0.08–0.12 mm brings out the most relief detail. Variable layer height in your slicer is a good compromise.
- Walls: 3 or 4, so rims, loops and tubes print as solid plastic.
- Plate: a smooth or textured PEI plate. No brim needed.
- Silk PLA: print about 5 °C hotter and a little slower for the most shine. It hides layer lines and looks like cast metal.
- Lithophanes: print flat, face up, in white or natural PLA at 100 % infill, and keep the thinnest part at least 0.8 mm.
- Jump rings: a 5–6 mm metal ring made from 0.8–1 mm wire is the right size for most loops.
Common questions
Is it really free? Yes. There is no account and no watermark, and what you make is yours to print, give away or sell.
Does my photo get uploaded? No. Everything, including the AI depth and the background removal, runs on your own device.
Can I use it on a phone? Yes, although a larger screen makes fine adjustments easier, and the AI features are quicker on a laptop or desktop.
Which image works best? A sharp picture with one clear subject and a plain background. For logos, a PNG with a transparent background is ideal.
Ready to try it? Open Pendant & Medallion Studio. If you want something to hang it on, our chain generator makes print-in-place necklace chains to match.
Spotted something wrong, or have a fix that works better? Tell us at cobornassets@gmail.com — corrections get credited.